Short answer — having an all-in-one church software is the better option. Let’s go over the longer answer of what a church software should include at a minimum. Then we will discuss why the software should be an all-in-one package. In the first section, we will discuss the seven features that an all-in-one church software… ⪼ Continue Reading…
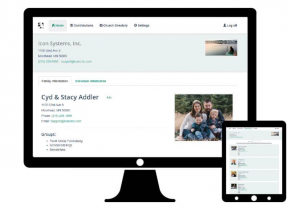
church management software
Text Messaging for Church Software!

Many churches believe that text messaging isn’t needed in their church software. However, many things have changed over the years. Technology has become more accessible, allowing people to be more mobile. In other words, they don’t have to be physically present to be an active part of the church anymore. This mobility also presents a… ⪼ Continue Reading…
Is Church Software Online A Better Solution?
The verdict’s in! Churches are more efficient because of online systems. Church software online has been around for about two decades, starting with IconCMO in 2001. Churches still using a computer installed program or a hybrid system should consider changing to an online solution immediately. The online solutions offered today have proven reliable, are more… ⪼ Continue Reading…
The Best Church Software Is Compliant & User Friendly!
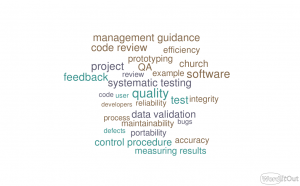
Having the best church software encompasses compliance and user-friendliness while being cost-effective. Delivering these qualities to the user relies on certain software traits in the development process such as accuracy, portability, maintainability, reliability, efficiency, integrity, and many more. When the software lacks these software traits, it will fail to deliver software that’s compliant and user-friendly.… ⪼ Continue Reading…
Church Finance – Renting Space And Its Cost

For many churches renting space helps pay the bills and possibly put a little more in the coffers for church projects, ministry outreach, and so on. Renting space is no easy task for the church finance team. When churches decide to open their doors for renting space, many considerations will arise, such as: figuring out… ⪼ Continue Reading…
Charitable Giving Software

Charitable giving and church software go hand in hand. When a charitable donation is received, the nonprofit organization must record the entry to provide a tax statement to the donor. These tax statements are an important element to the donation process in that they provide proof to the IRS of what the donor has contributed.… ⪼ Continue Reading…